Audio Guide Script
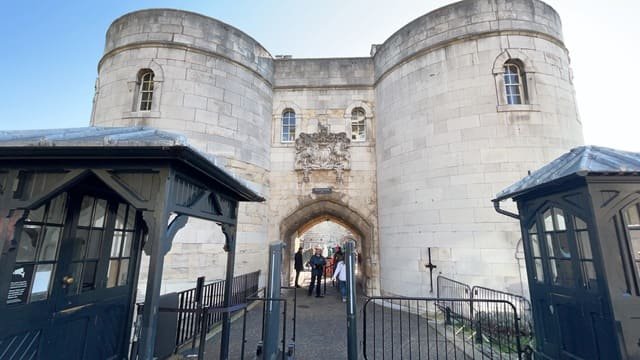
Welcome to the Middle Tower, one of the first structures you’ll encounter as you enter the Tower of London complex. Built in the 13th century during the reign of Edward I, this impressive gatehouse served as an important part of the castle’s defenses.
As you approach, notice the tower’s sturdy stone walls and the two large circular turrets flanking the entrance. These architectural features were designed not just for aesthetics, but for military purposes, allowing defenders to rain arrows or other projectiles on potential attackers
Look up, and you’ll see machicolations – openings in the overhanging parapet. These were used to drop stones or pour boiling liquids onto enemies attempting to breach the gate below. It’s a stark reminder of the tower’s dual role as both a royal residence and a formidable fortress.
As you pass through the arched gateway, imagine the countless historical figures who have walked this same path – from medieval kings and queens to notorious prisoners. This tower was once the first line of defense, controlling access to the castle proper.
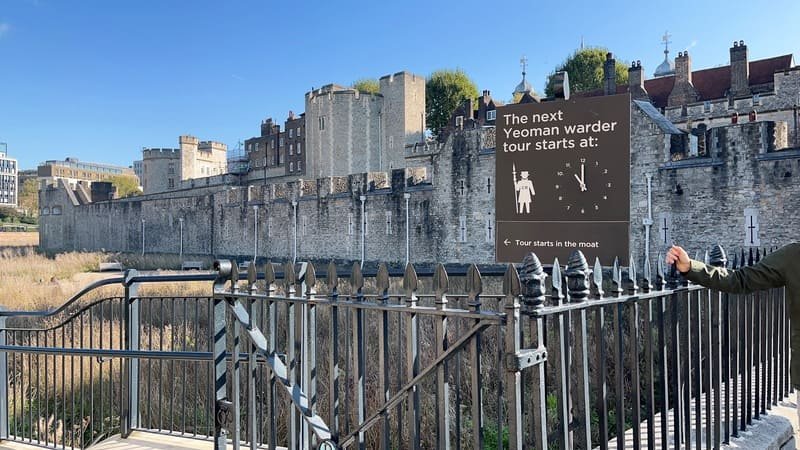
Beyond the Middle Tower, you’ll cross what was once a drawbridge over a now filled-in moat. This additional layer of defense made the Tower of London one of the most secure fortresses in medieval Europe.
As you pass through the entrance, you’ll first encounter the Middle Tower. After this, the layout opens up: to your right, you’ll spot a map of the complex, while on your left, you’ll see the gathering point for the Yeoman Warder-led tours.

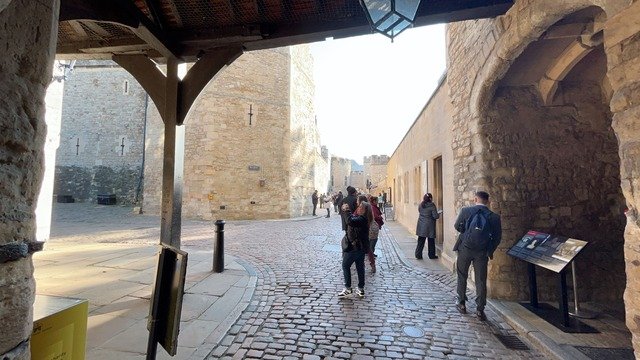
Crossing the bridge, you’ll then approach the Byward Tower. Once beyond the Byward Tower, the full expanse of the Tower of London complex unfolds before you.

As you pass through the Byward Tower, let’s turn left and head to our next destination: the Royal Mint
Previous: Tower of London
